Don’t Settle For A Non-Working Hearing Aid And Make Sure You Get What You Are Looking For

Don’t Settle For A Non-Working Hearing Aid And Make Sure You Get What You Are Looking For

Your spouse accused you again of not listening. At least you think that what was said – you didn’t really hear the words clearly. The way to vindicate yourself is to check your hearing aids. With any luck, you will discover a simple issue, get it cleared up and be off the hook at home.

Experts suggest that you check your hearing aid every six months, whether you are having problems with them or not. Just as you change your oil in the car and check your tire pressure on a regular base, (Alright, pretend for this discussion that you do!), your hearing aid device needs to be checked.

It is the in-between time, like now, when the spouse thinks you are not hearing on purpose that you should know all the steps to check the hearing aid device for problems.

The Ups and Downs of Volume Control

Turn the volume up and down and back up again to be sure it is working properly and that you did not turn it down during last night’s neighborhood karaoke night. It is surprising how often hearing aids get turned down and then forgotten about.

Batteries Are Your Friend

If the volume does not work, check the batteries. It is possible they got knocked loose during last night’s post-karaoke dance contest. First, make sure that they are still properly installed. If they are but you still have trouble hearing, put in some fresh batteries in case the old ones are dead.

Cleaning is Crucial

Clean them. Come on, admit it. You rarely take the time to clean them properly. No worries, you can do it now. Be sure to check the tubes if you have a behind the ear device. They can get clogged with dirt, earwax, etc. To avoid damaging your device, follow your doctor’s or manufacturer’s instructions for the proper cleaning method.

Damage Control – and Not Just Your Spouse

Throughout the process of checking the aid, be sure to examine it visually and see if it has gotten cracked or otherwise damaged. This can happen from normal wear and tear as the device ages, or it can be damaged by dropping it on a hard surface or placing heavy objects on it when it is out of the ear.

Once you have checked the volume control, the batteries, cleaned it and examined it for damage, if it still does … Read the rest

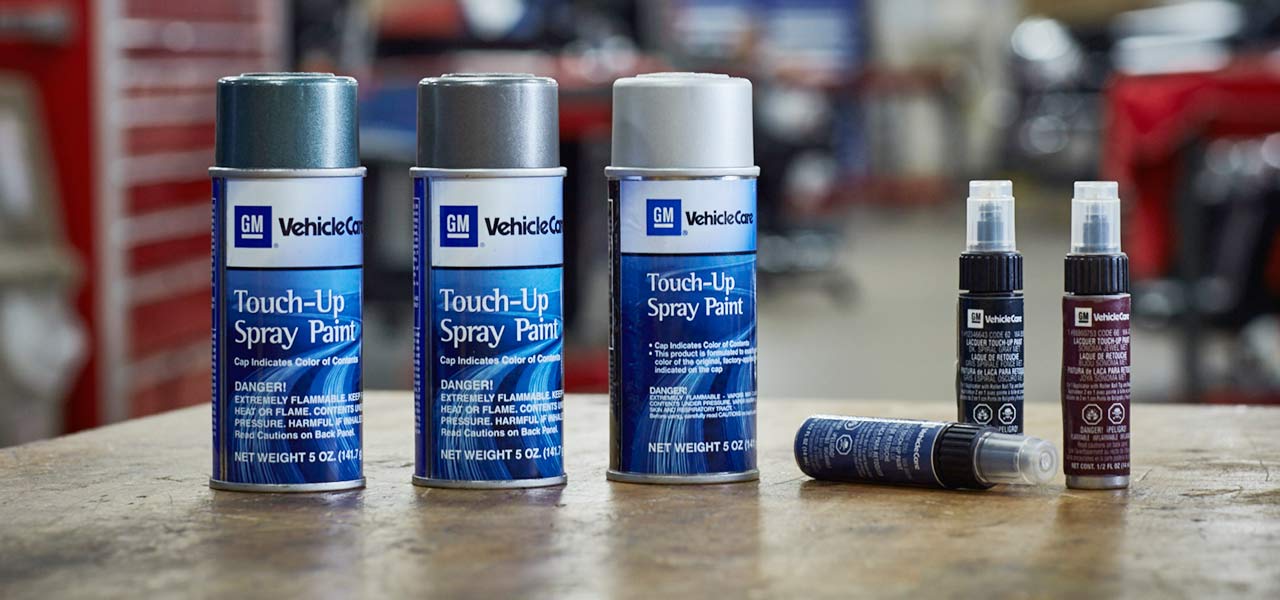
How Do I Find The Right Touch Up Paint For My Scathed Or Chipped Car?

How Do I Find The Right Touch Up Paint For My Scathed Or Chipped Car?

No matter how much you take good care of your car, bumps and scratches will still collect and destroy the brand look of a car. Whether they are minor scratches or major bruises, no one wants to see their car in such a condition. While it’s impossible to avoid scratches, there are more options and techniques to remove scratches from your car. 

The most effective approach is using touch-up paint. This type of paint does wonders by removing scratches with a few spray paints on the affected part. However, it’s not that easy to apply to touch up paint especially on Honda civic colors. 

The color of the paint should perfectly match the exterior of the car body. Only a professional painter can do the job properly and ensure the painted area looks a match with the body of the car. Also, you need to consider the quality of the touch-up paint. Low quality means the paint won’t last for long and if it happens, the affected area will look terrible. 

That said, below are the common paint applicators to use:

1. Brush tip applicators

This is the most common type of applicator. They provide a quick and easy repair for road rash and chips. The only drawback with the brush tip applicator is that it gives unstable paint that is too runny. Also, the brush requires a steady hand when using on Honda civic colors.

2. Pen tip applicators

When they were first introduced into the market, almost every car owner felt their presence. However, they have more drawbacks than benefits. Their tips are easy to clog with difficulties in getting the paint to flow from a specific point.

Common areas of Concern 

There are three major areas to focus on when learning to paint. This way, it becomes easier to determine the best kit for Honda civic colors. They include:

  Road rash

  Scratches

  Paint transfer

Touch up paint not be a solution to all scratches. Scratches vary in terms of length and even width. Also, some of the scratches you think are transfer marks and not real scratches. To find out whether it’s a real scratch or not, perform a simple nail test. Use your fingernail tip to determine the extent of the scratch. On the other hand, a road rash happens when paint gets chipped off as a result of heavy impact debris on … Read the rest

How To Keep Lips From Drying Out When Wearing Liquid Lipstick

How To Keep Lips From Drying Out When Wearing Liquid Lipstick

Liquid lipstick can be tricky, but it doesn’t have to be! These tips and tricks will make you a pro in no time. 

A liquid lip can present a few problems. It can be too dry, too flakey, or too messy. Any of these can make you look sloppy rather than put together. Luckily, all of these can be easily avoided with just a few simple steps.

Exfoliate Your Lips

Before you even start putting on your makeup, you have to prep your skin. It’s no different for your lips! Exfoliation is key. Use a lip scrub beforehand to make sure your lips are smooth and free of dry skin. This helps the lipstick look flawless and lasts longer. 

Don’t Forget to Moisturize

Moisturizing goes hand in hand with exfoliation prep. Keep your lips from drying out by applying a lip balm afterward. Apply a moisturizer before your lipstick if you are aiming for a matte finish. If you want a glossy look, apply lip balm beforehand and a moisturizing gloss afterward. 

Use a Lip Liner

Using a lip liner to outline your lips before or after you apply your lipstick can help to add dimension and fullness. Use a lip brush to blend your liner for your best matte liquid lipstick. 

Less is More

Unlike more traditional lip products, liquid lipstick can build up and look flakey very quickly. Use less product by only swiping across your lips once or twice. Using more product will not make your color last longer.

The Tissue Trick

To make your lipstick last longer, split the layers of a piece of two-ply toilet tissue. Use one of the layers to cover your lips while applying translucent powder over top with a large powder brush. The translucent powder sets your lipstick while the tissue keeps the powder from building up. 

Clean It Up

Don’t put your translucent powder away yet! After you’ve applied your color, use a very small amount of concealer around the edge of your lips to create a clean boundary. Blend the concealer out and set it with a bit of translucent powder. Your lips will have a fresh, sharp look rather than a muddled edge. 

Top It Off

If you are looking to add more dimension to your look, apply a small amount of highlighter to the center of your lips to create fullness. Top it off with a clear … Read the rest